Skip to content
Do you find it difficult to find the right dog collar for your dog? Or you can’t find a dog collar in your favorite style? You desperately want to make a dog collar that matches your dog? Well, read this article that teaches you to make dog collars from scratch, allowing for a personalized touch and ensuring a perfect fit for your furry friend.
Here’s a video on how to make a DIY dog collar to give you a clearer idea of how to get to the finish line:
What You’ll Need: The Crafter’s Toolkit
Starting this project is like embarking on a treasure hunt. Your map? This handy list of materials and tools:
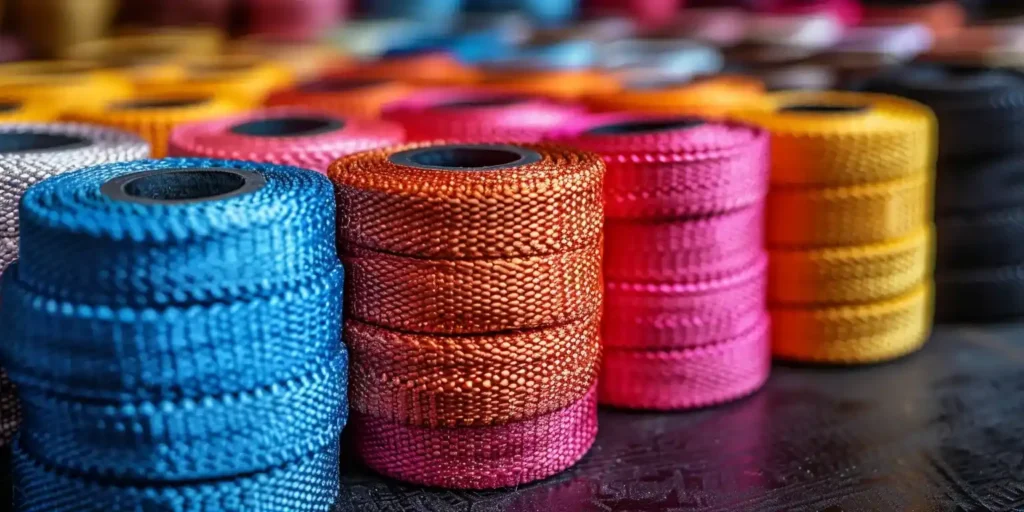
- Nylon Webbing
- Cotton Fabric
- Buckle
- D-Ring and Slide Adjuster
- Sewing Machine or Needle and Thread
Each item on this list is a stepping stone to creating a collar that’s both stylish and sturdy.
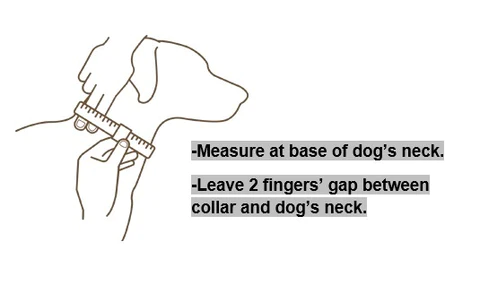
Measuring Up: Sizing It Right
The secret to a perfect fit? Precision. Measure your dog’s neck where the collar usually sits. Add 4 inches for comfort. Remember, the goal is snug, not tight; you don’t want to turn walks into a chokehold contest.
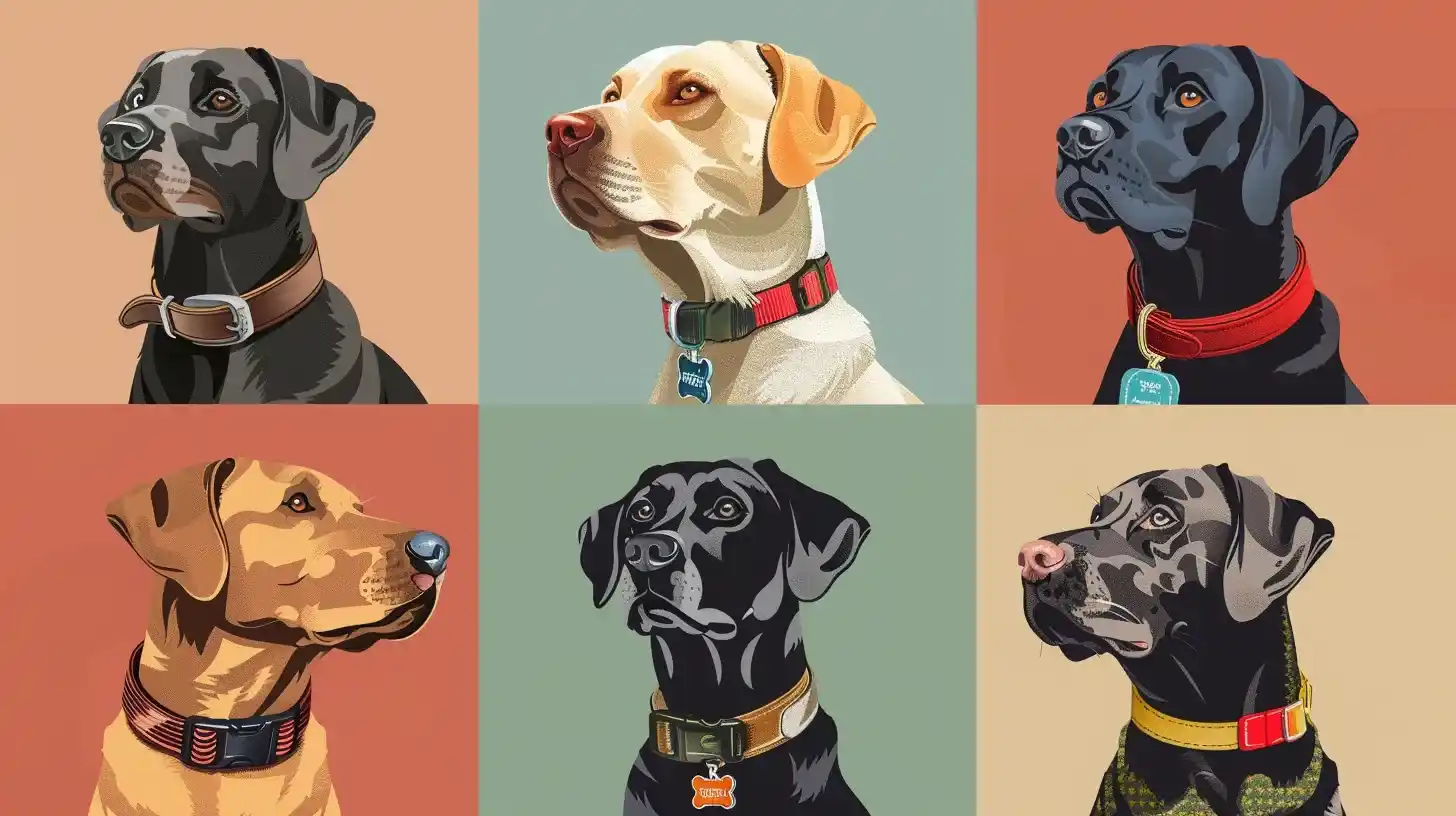
Choosing Your Materials
Before we get to the nitty-gritty of sewing, selecting the right materials is paramount. For the sake of durability and ease of maintenance, nylon webbing is a popular choice. It’s strong, lightweight, and comes in various widths and colors, making it a versatile base for any collar. For those looking for a more unique or stylish option, consider covering the webbing with a decorative fabric that reflects your pet’s personality.
Preparing Your Materials
- Cut the Nylon Webbing: Measure your dog’s neck and add approximately 4 inches to this measurement for adjustments and overlap. Use a sharp pair of scissors to cut the nylon webbing to your desired length. To prevent fraying, lightly singe the edges of the webbing with a lighter or match.
- Cut the Fabric: If you’re covering the webbing with fabric, cut the fabric about 1 inch wider than the webbing on all sides. This extra width allows for a half-inch fold on either side of the fabric, creating clean edges that will be sewn onto the webbing.
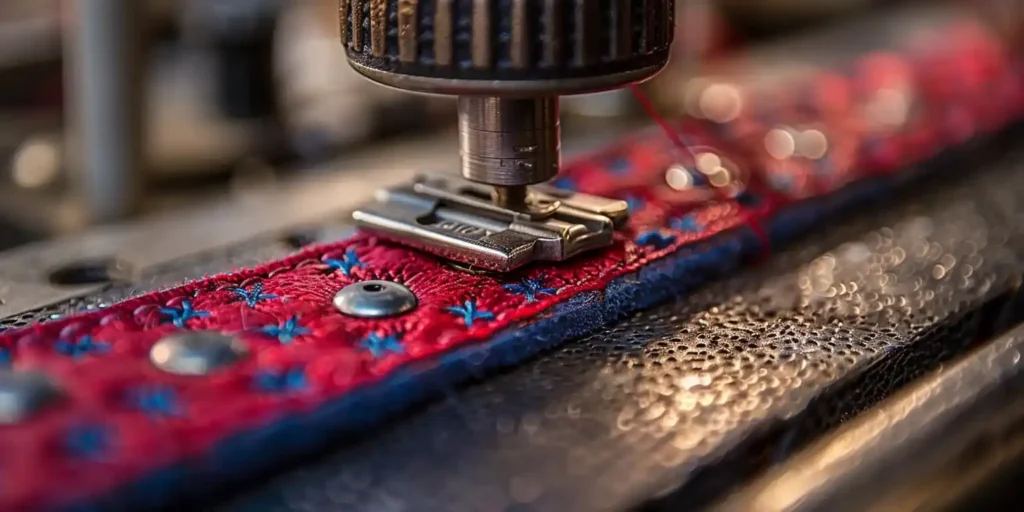
Sewing the Collar
- Folding and Ironing the Fabric: Begin by folding the edges of the fabric over so that it perfectly wraps the webbing, ironing the folds to keep them in place. This step is crucial for achieving a neat appearance and ensuring that the raw edges of the fabric are not exposed.
- Attaching Fabric to Webbing: Place the fabric on top of the webbing, ensuring the folds are tight and the fabric is centered. Use fabric clips or pins to secure the fabric to the webbing, preventing it from shifting as you sew.
- Sewing the Fabric to the Webbing: Using a sewing machine set to a medium-length straight stitch, sew along the very edge of the fabric, removing the clips as you go. You’ll want to sew all four edges to secure the fabric to the webbing fully. For added durability, you can sew a second row of stitches parallel to the first on each side.
- Adding Hardware: Slide on the D-ring and loop it through the buckle according to the buckle’s instructions. This is typically done before sewing the ends of the collar together. Make sure the D-ring is in place to attach a leash and the buckle is oriented correctly.
- Sewing the Collar Together: Fold the end of the webbing over (about 2 inches) to create a loop around the D-ring and under the buckle. Sew this section tightly, ensuring multiple passes with the sewing machine to secure the buckle and D-ring in place. This step is vital for the collar’s safety and durability.
Finishing Touches
After sewing, inspect the collar for any loose threads or uneven seams and make any necessary adjustments. You can also add personal touches, such as embroidery or decorative stitching, to give the collar character.
Testing the Fit
Finally, fit the collar on your dog, ensuring that it’s snug but comfortable, with enough room to fit two fingers between the collar and your dog’s neck. Adjustments can be made by sewing additional fabric or webbing if needed.
Crafting a dog collar yourself allows for customization and ensures a perfect fit, making it a worthwhile project for any pet owner. With patience and creativity, you can create a durable, stylish, and comfortable collar that reflects your dog’s unique personality.
Going Further: Starting a Business
Maybe you want to start your own dog product business someday, QQPETS is a good choice. QQPETS is a dog collar manufacturer with 17 years of one-stop customization service, supporting customization service (logo and pattern) with small MOQ. Perfect for businessmen who are just starting out.