Skip to content
Embarking on the adventure of making a pet leash might seem daunting at first, but with a bit of guidance and the right materials, it can turn into a rewarding project. Imagine the pride you’ll feel when you see your pet strutting around with a leash you made! Let’s break down the process, shall we?
Let me simply show you the steps to make pet leash:
- Selecting the material
- Cut the material
- Reinforce the end
- Install the fasteners
- Make the handle
- Testing the tow rope
To give you a clearer understanding of how to do this, here is a video attached:
Gear Up!
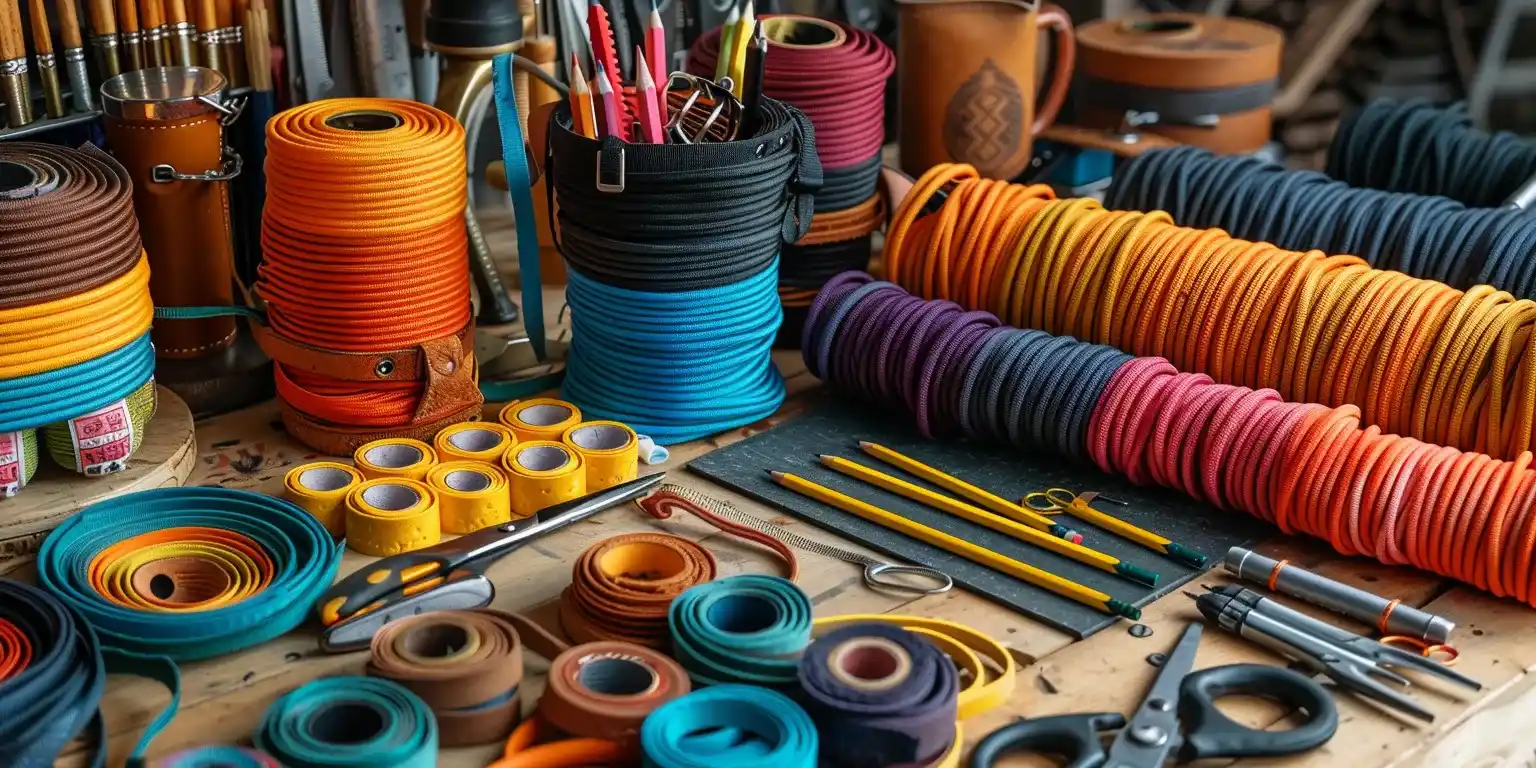
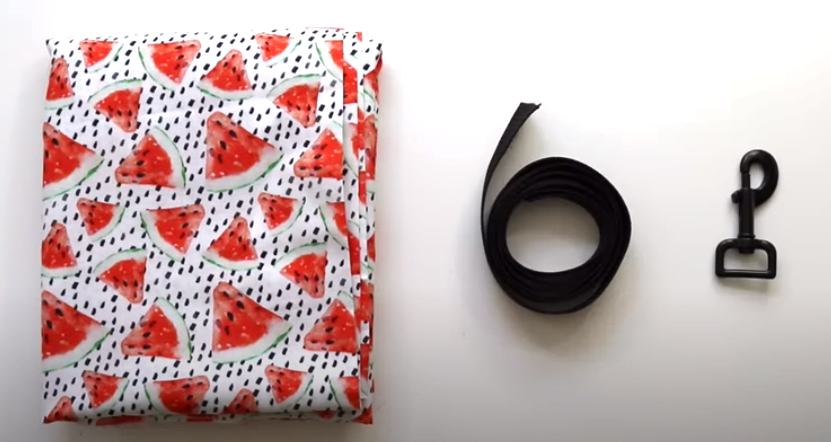
First off, rally your materials and tools like a true DIY champion. You’ll need:
- Materials: Nylon rope, leather, or webbing. Pick your champion based on your pet’s size and zest for adventure.
- Clasps: Metal or plastic snap hooks and rings to connect the leash to your furry friend’s collar.
- Sewing gear: Needles and thread or a sewing machine if you’re opting for a stitched victory.
- Scissors: To cut your path clear.
- Ruler: The treasure map to your desired leash length.
- Lighter or candle: For those opting for nylon, this is your wand to prevent fray with a magical sear.
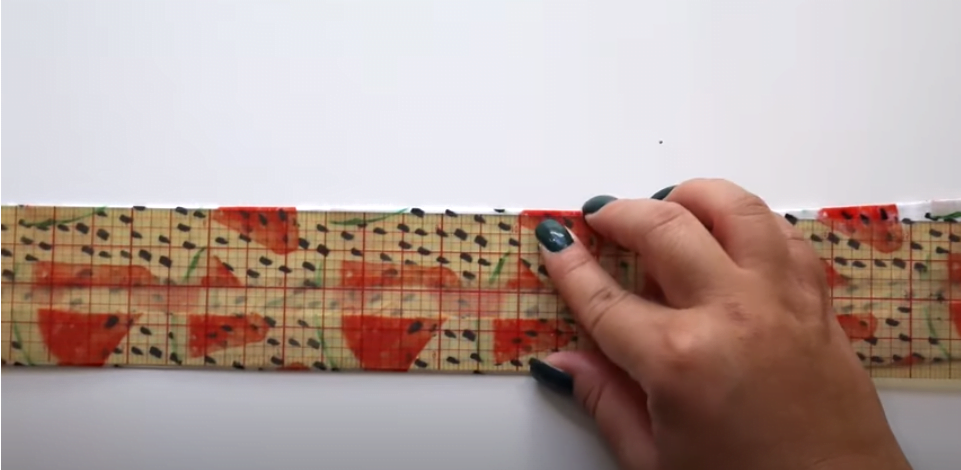
Step 1: Measure & Cut
- Summon your ruler and decree the length of your leash. Commonly, leashes range from 4 to 6 feet (magic wand lengths).
- With scissors in hand, slice your material with the precision of a seasoned craftsman.
Step 2: Reinforce the Ends
- For nylon or webbing enthusiasts, lightly toast the ends with your lighter or candle. Beware the dragon’s breath!
- Leather folks, feel free to skip this mystic ritual.
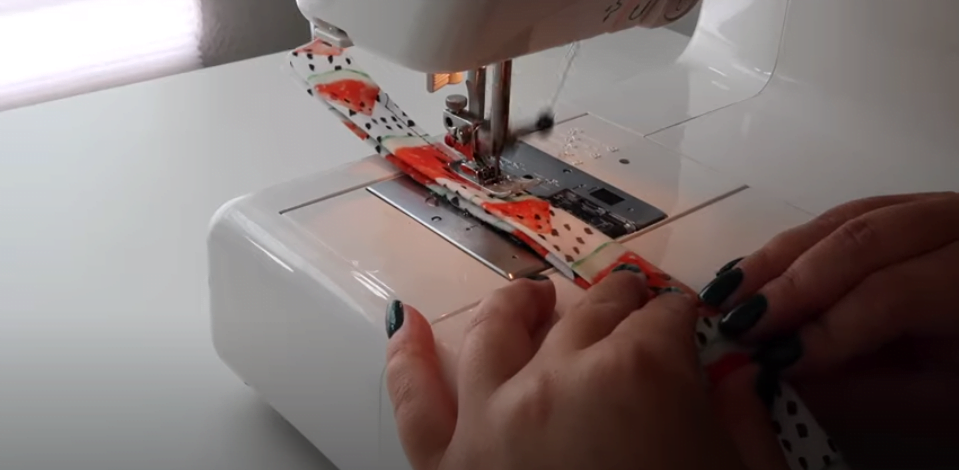
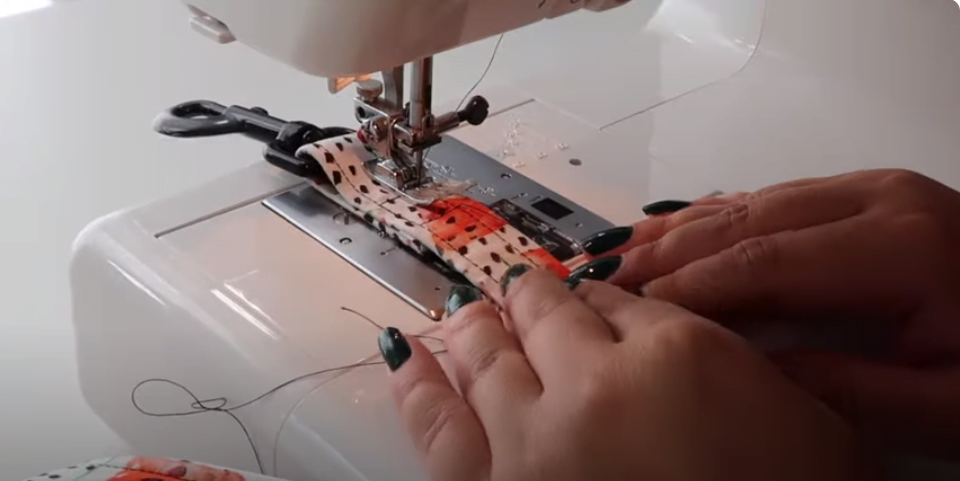
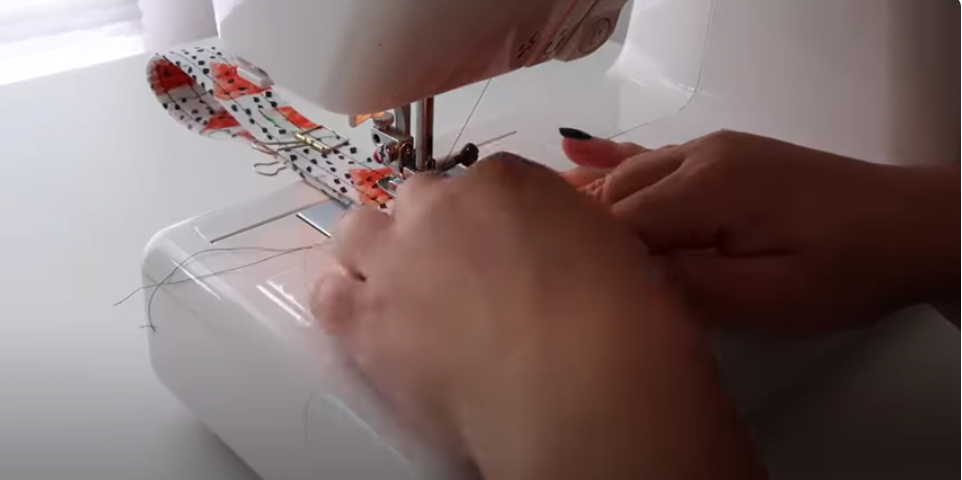
Step 3: Attach the Clasp
- Choose an end for the ring; this is where you’ll tether your beast (lovingly).
- Loop the chosen end through the ring about 1 to 2 inches, then secure it back onto itself. Stitch or bond with the fervor of a blacksmith forging a sword.
Step 4: Forge the Handle
- At the opposite end, measure a realm for your hand to rule (about 5 to 6 inches).
- Fold this territory back on itself to form a comfortable grip. Stitch or secure as if your life depended on it. For the leather loyal, adhesive or rivets will be your allies.
Step 5: Strengthen the Grip
- Wrap some soft tubing or foam around the handle for a grip that even the mightiest of wizards would envy. Secure with tape or a stitch spell.
Step 6: The Trial by Fire
- Before setting out on your journey, test the leash for any weaknesses. Tug gently to ensure it can withstand the might of your beast without faltering.
Follow these steps with the heart of an adventurer, and you shall forge not just a leash, but a bond of legend between you and your noble companion. Adjust your techniques as needed to suit the unique spirit of your beast, and may your walks be ever filled with joy and wonder!
If you are selling dog leashes, but now handmade can’t catch up with your selling speed, then please contact QQPETS, which is a professional dog leash manufacturer, and the products have been exported to more than 100 countries, deeply loved by customers!